Using AdafruitIO And An Esp8266 As An IOT Sensor Monitor
TAGS: electronics; software; Esp8266; Arduino; WIFI Web Server; AdafruitIO
Why I Did This
I wanted to test a free IOT server service that allows me to monitor my microcontroller sensors from the web (from my smartphone). I had previously tested the Cayenne service, which was ok but seemed to not display well on my smartphone. Now I’m testing the AdafruitIO IOT server service. It, like Cayenne, can allows a user to add arduinos, esp devices, but seems to only allow raspberry pi picos (their ‘arduino nano’ microcontroller version of raspberry pi) to its service; this is probably because they are a microcontroller service and not focused on microprocessors, but I’m speculating on that.
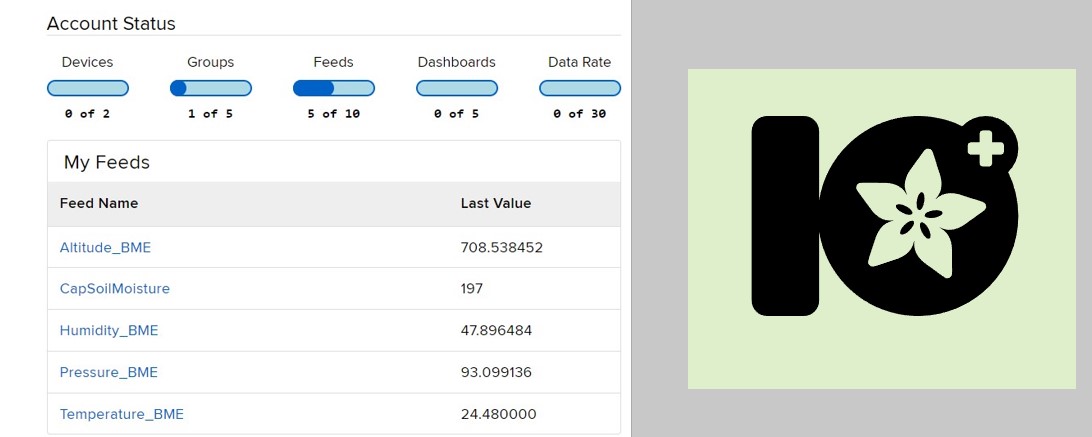
AdafruitIO organizes sensors separately as feeds; then you can copy different or same feeds into different dashboard layouts.
Design Walkthrough
Parts: Esp8266 microcontroller; BME280 sensor;
I was able to follow Ruzell Ramirez’ Circuit Basics tutorial to build an AdafruitIO account and dashboard; then program the Esp8266 with the provided code, but modified for my own BME280 sensor. The BME280 sensor can capture temperature, humidity, barometric pressure, and altitude.
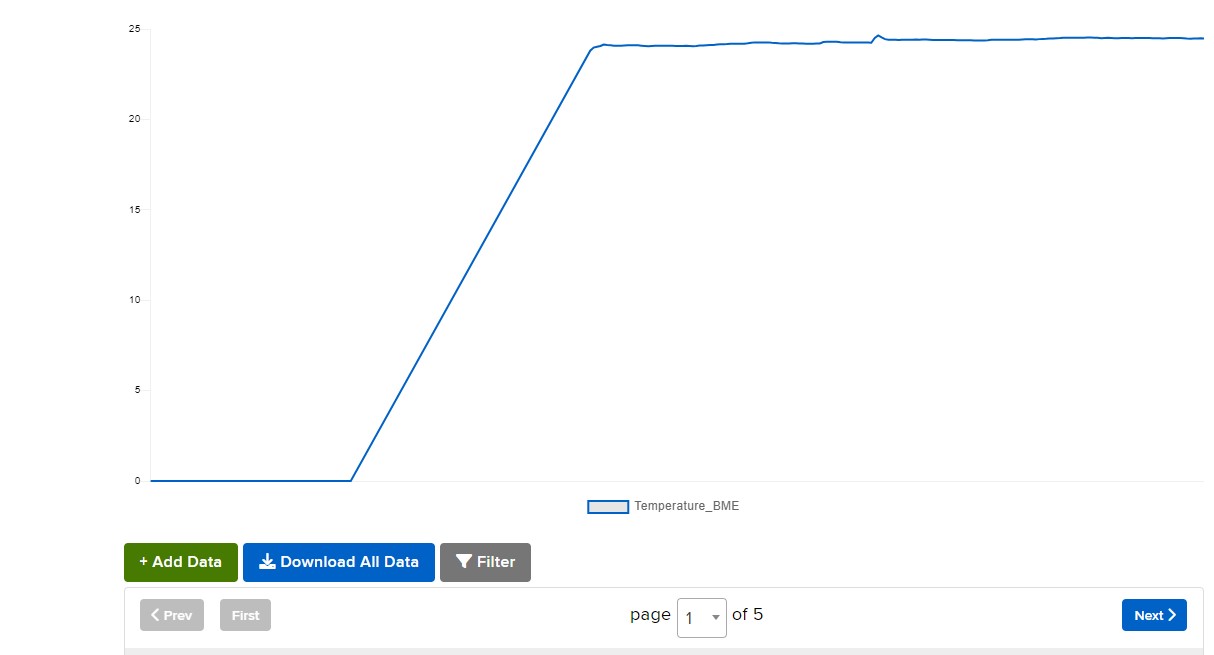
The website holds historical data for you to view or easily download.
Lessons Learned and Future Changes
It works well but has limits. I’m able to see all of the data on the AdafruitIO website (including historical charts) and I can have multiple dashboards setup so that the same feed data can go to different views, but I’m only allowed 10 sensor data pieces for my free account, so this isn’t a viable solution if I need a free option and many sensors.References
AdafruitIO website: https://io.adafruit.com/
AdafruitIO tutorial:
https://www.circuitbasics.com/how-to-make-a-web-based-iot-control-dashboard/