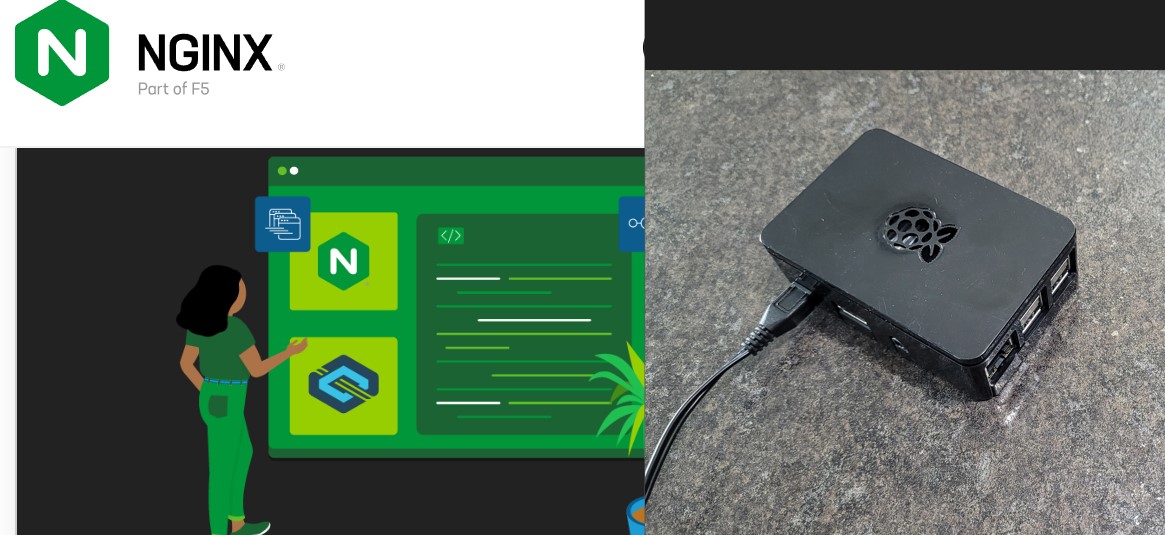
Hosting a Website From My Own Raspberry Pi Using Nginx
TAGS: electronics; software; website; Raspberry Pi; Nginx server;
Why I Did This
I had a cheap Raspberry Pi 3B and learned they were capable of hosting web servers. I was
learning more about web servers and figured this would be a good pi project; additionally, I
figured this project might teach me more about the intricacies of non-cloud web servers.
Cloud based web servers aren’t free (for the most part; you can get an exception to this by
using GitHub Pages, but apparently the level of service is limited); the costs arise from
the power and service time allocated from companies to have their computers serve the cloud
requests (think of it like charging for virtual parking and virtual valets of your website
or other internet services). To get around this (at least at the individual tinkerers’
level) you can host your own website on your own hardware.
Simple and free (if you have a spare Pi), but is it safe?.
Design Walkthrough
Parts: Raspberry Pi 3B; html template packaged files (free from Html5up); optional domain name (for $13/year from Namecheap, or $6/year with first time buyer’s coupon); Nginx server software
I had to follow quite a few different tutorials to get a website working (see references
below), but basically:
- I installed a Raspberry Pi OS on my pi, added login credentials, turned on SSH, and
accessed the pi (through either plugged keyboard and monitor, or, via SSH through VSCode
editor).
- I installed Nginx via shell ‘sudo apt install’, then started the service.
- I uploaded some test html files (from HTML5UP) to the nginx html host folders.
- I setup free SSL connection using a Let's Encrypt plugin.
- I set my router to forward ports to allow http and https connections (and I also have a
domain name from Namecheap that I used to act as my website name instead of my public IP
address).
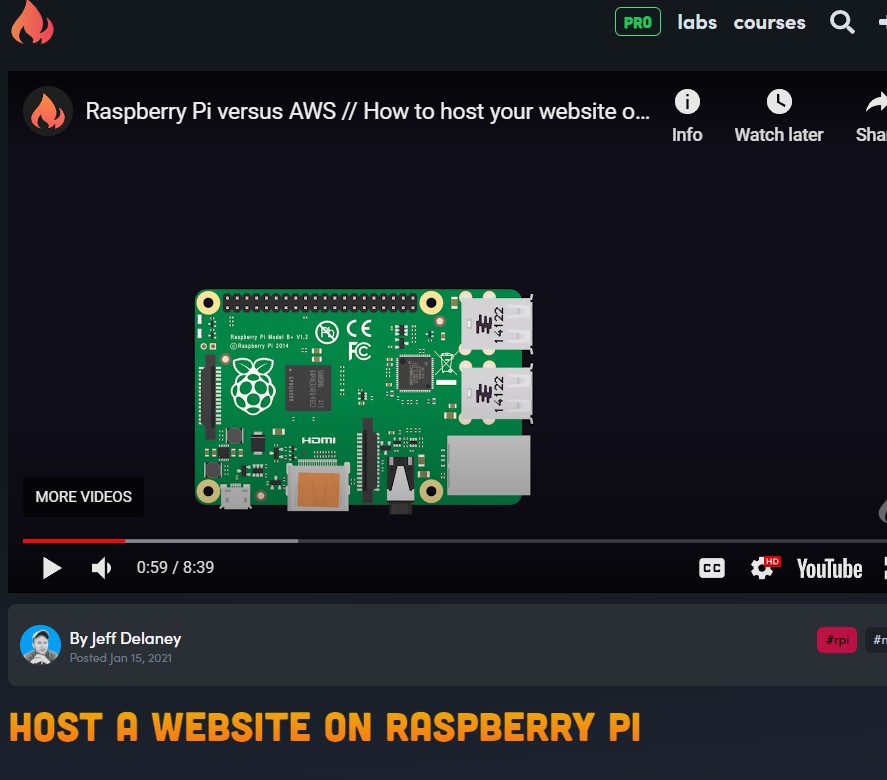
This fireship.io tutorial was the starter tutorial for me, but it spread to others.
Lessons Learned and Future Changes
Good, albeit limited performance. If you expect to use this server only for low traffic projects, then this Pi hardware is fine, but fi you expect to host your fast-growing web store form it then I would use a cloud service or dedicate a faster processing computer.Beware of power outages. If the server is needed for intermittent usage, then Pi is fine alone, but if its need for a constant service, like 24/7 data tracker or controller, then you might need to install some sort of uninterrupted power supply.
Exposed? In order to keep this server public, I had to open my ports; I have a domain name to use instead of an IP address, but anyone can easily find out what that IP is with IP look ups. Apparently, this is not a very secure method as I’m more exposed to hacker attacks (if they can target my server with program vulnerability packets). A way to increase security is to hide my IP by using a proxy service like Cloudflare (this way when people look for my IP they get Cloudflare’s instead), and, to use intermediate server tunneling agents, as installed programs, on my server’s computer so I don’t have to expose any ports (like installing Cloudflare Zero Trust, Astrorelay, etc. so my pi is talking to cloud flares server which then talks to the open world, without my IP and port configurations).
References
References:
Raspberry Pi website hosting tutorial from fireship.io:
https://fireship.io/lessons/host-website-raspberry-pi/
HTML5UP.net free website themes: https://html5up.net/
Namecheap cheap domain name leasing: https://www.namecheap.com/
Ting Wei’s tutorial: https://blog.tingwei.fans/self-hosted-website-on-a-raspberry-pi-part-1
Raid Owl’s Cloudflare tunneling tutorial:
https://www.youtube.com/watch?v=hrwoKO7LMzk&ab_channel=RaidOwl
PiMyLifeUp’s tutorial: https://pimylifeup.com/raspberry-pi-nginx/